1. From the Events dashboard, select Create a New Event:

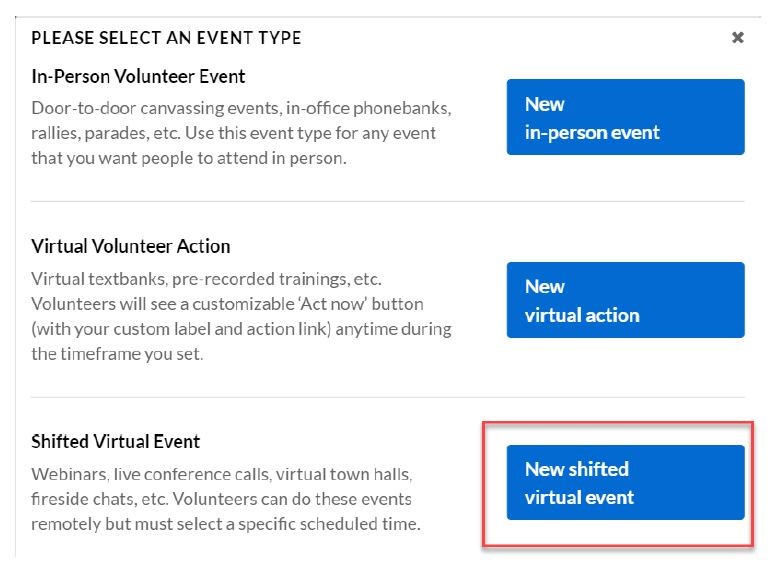
2. Select New Shifted Virtual Action.
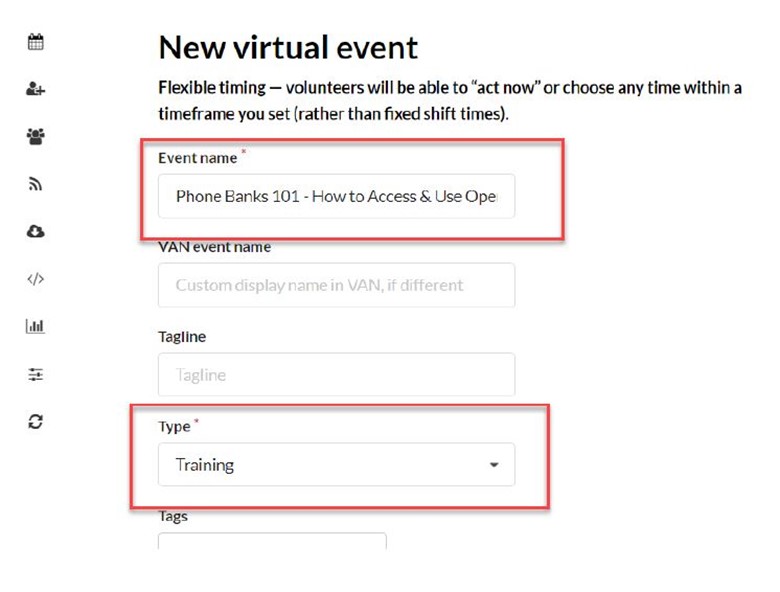
3. Complete the top of the screen and select the type of virtual event.
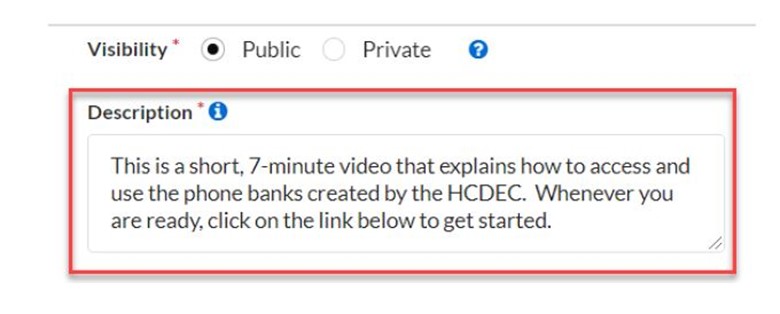
4. Visibility should be Public and add a brief description.
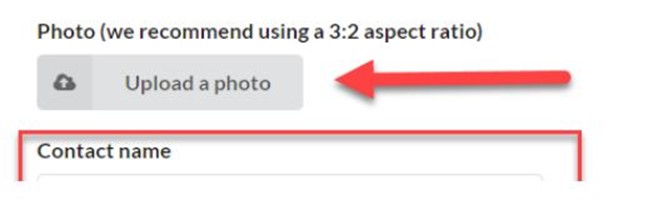
5. Upload a photo from a saved file on your computer. When you click on this link, you will be able to navigate to the saved file.
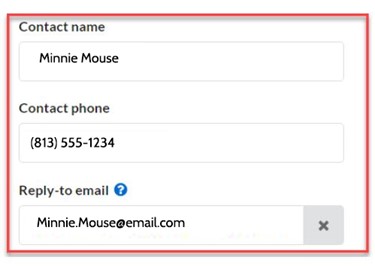
6. Provide contact information so your volunteers can reach you with any questions or problems they may have.
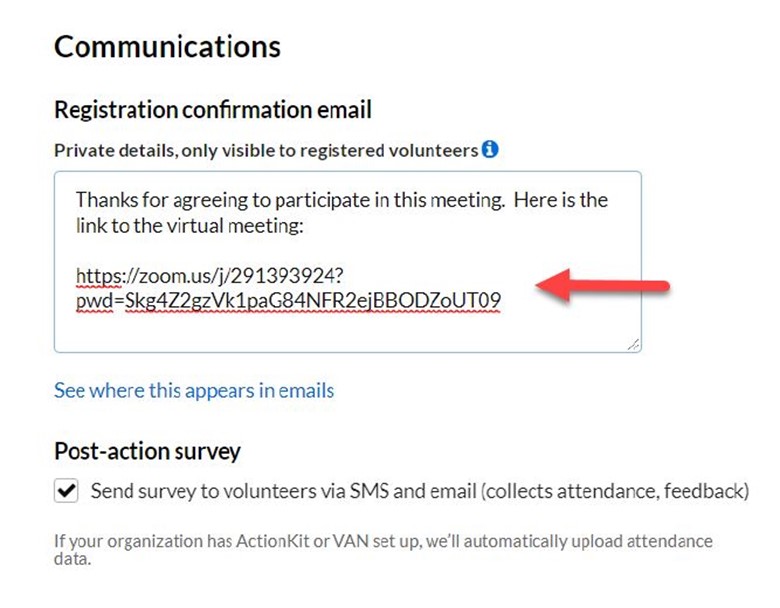
7. The Registration Confirmation Email is where you provide the link to the virtual event. If it is a virtual meeting or phone bank for which no instructions are needed, you can include the meeting link directly:
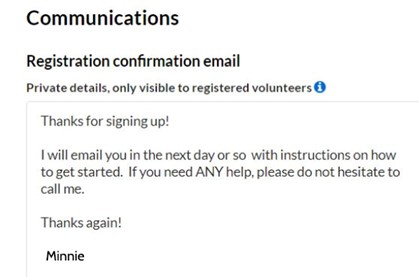
If it is a Text Bank, for example, where you need to register them as users first, you may will want to tell the volunteer that you will respond to their sign-up within a specified time period so you have sufficient time to create their account and then you can get back to them with account and text bank information in a separate email.
8. The scheduling portion of the screen will look identical to the scheduling portion of creating an in-person event.