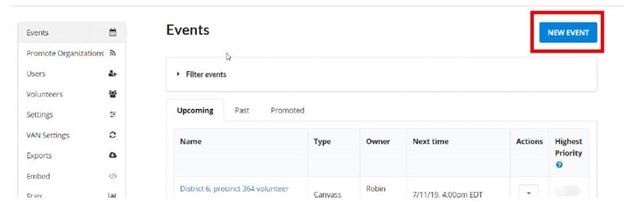
1. From the Mobilize home page, select New Event:
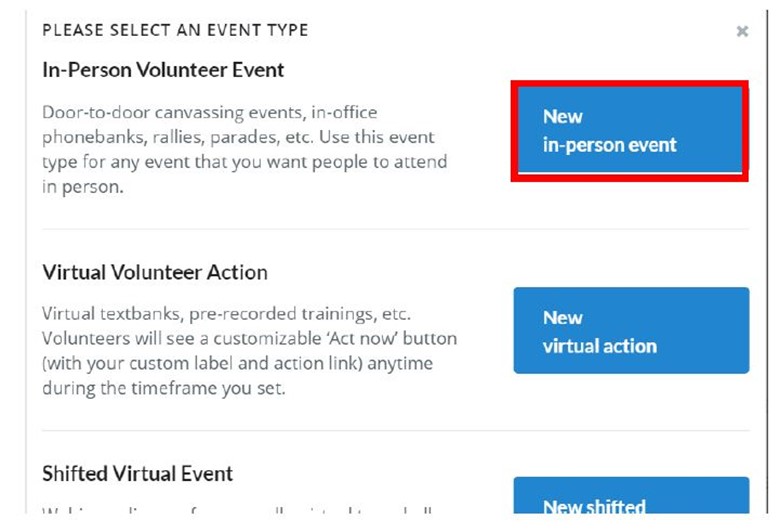
2. You will see the following. Select New in-person event.
3. The New Event screen will be displayed. Supply all required information (indicated by an *)
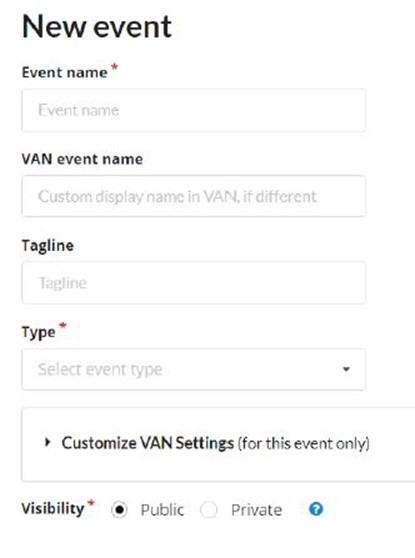
4. Your Event may be Private. For example, you may be holding a meeting of Precinct Captains in your area and do not want public participation. In that event, you might indicate that the Event is Private. In this way, only those to whom you send the link will be able to register.

5. Please note that what you type in the Description box, is what will be seen by the public. This is not the place for the informal language used in text messages.
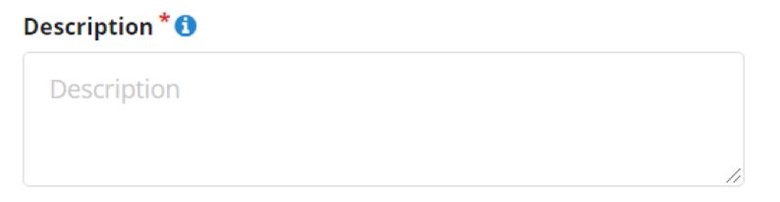
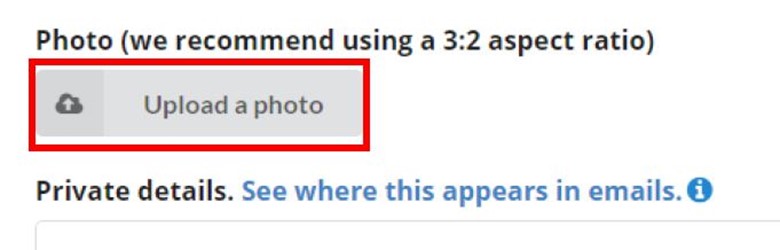
6. You can make your Event more appealing by using a graphic or photograph. Select Upload a photo.
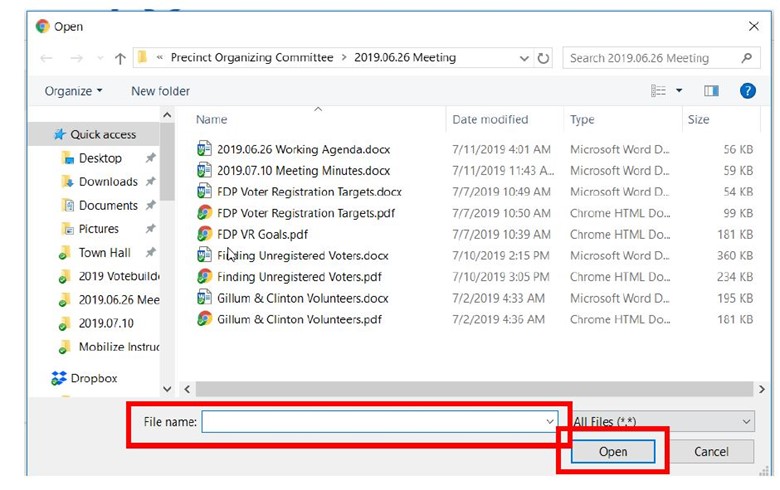
7. A dialog box similar to the one below will be opened. Navigate to a saved file on your computer to add it to your Event. Click on the file so it appears in the File Name field, then click Open
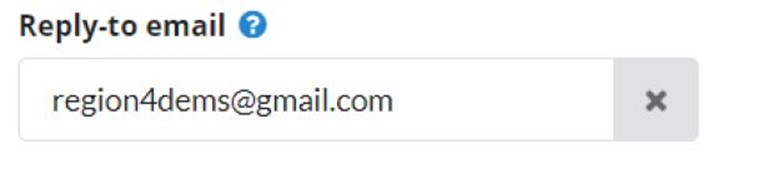
8. The Reply to email address may be changed and the new email address will appear in the body of any emails sent by Mobilize. However, and it’s a big however, all registration notifications, cancellations, etc. will be sent to the owner of the Event. That’s you…the person creating the Event.
9. You have the option of allowing/disallowing follow-up messages to participants.

10. Provide the schedule for your Event and all shift information. For example, a meeting may be held monthly and can be scheduled as such. A Petition Signature Drive may be a one-day Event with multiple shifts. Select Add times.
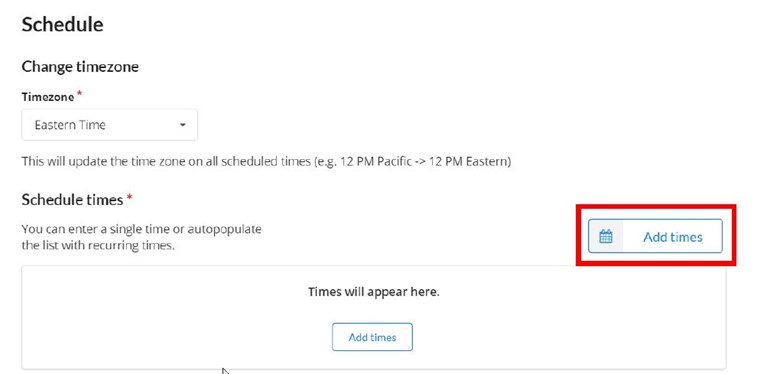
11. You will see the Schedule time(s) screen.
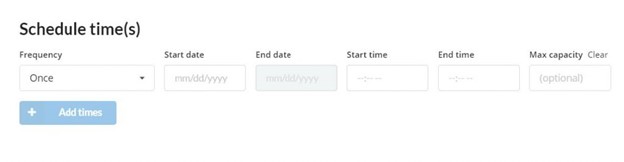
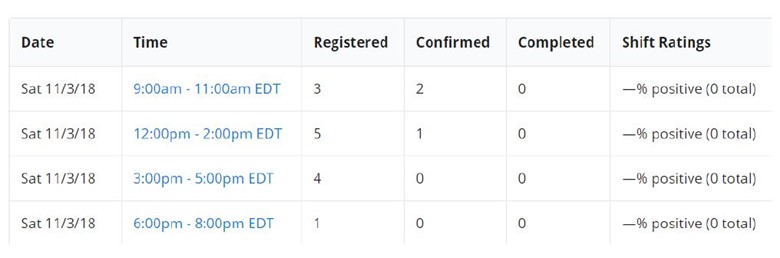
12. Select the frequency, start and end date, and hours of the Event. If your Event is an all day affair with multiple shifts requiring staffing, you click on Add times as often as needed to list all of the shifts. Note in the following example there are 4 shifts on November 3rd.
13. Add location information. Note the option to keep the location private. This means the Event will be publicly viewable, but no one will see the location unless they register for the Event. It will be provided in their registration confirmation email. This is useful for events like a fundraiser at someone’s home. You want to keep their address private until someone indicates their intention to attend.
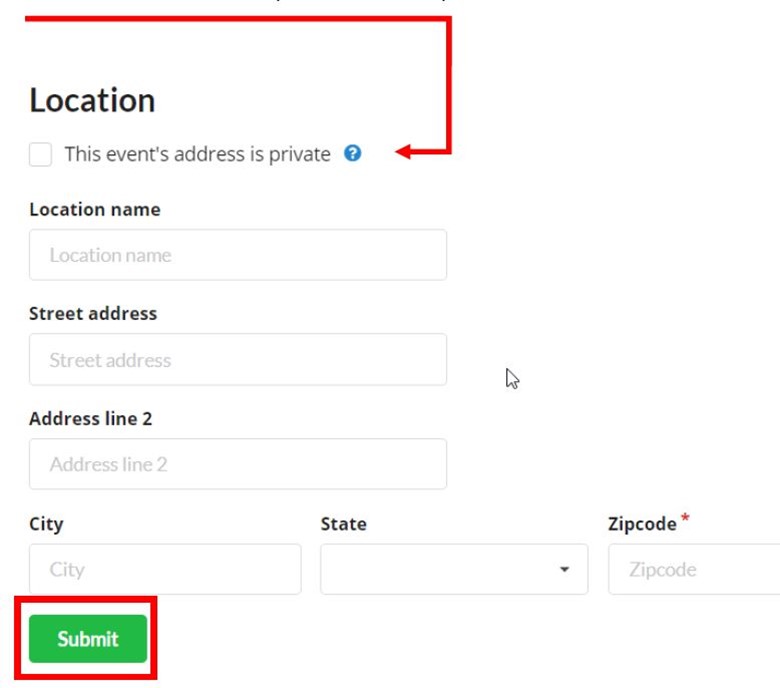
14. Select Submit.