
1. Start at the My Voters Screen.
2. Select Create A New List.
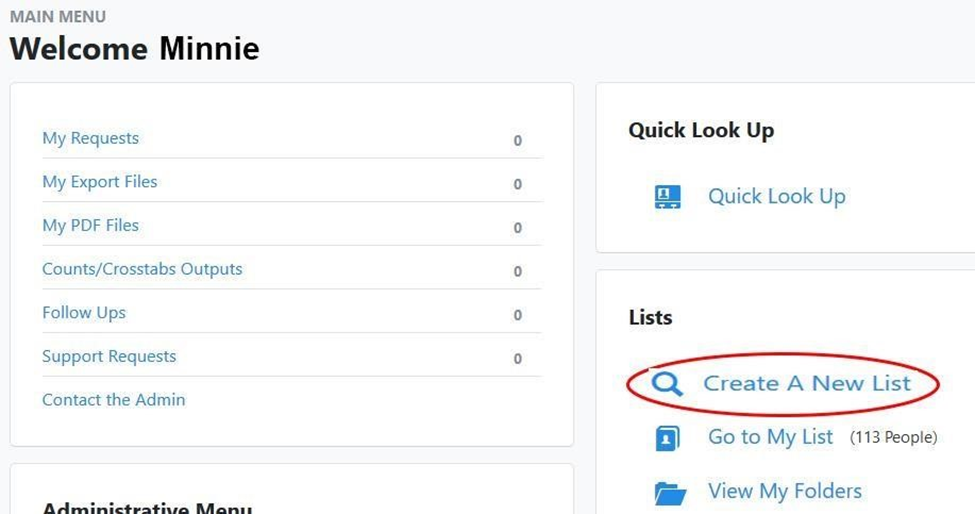
This will take you to the Create a New Search screen.
3. Scroll down the list of criteria to see what your options are. Typically, you will use the Remove All Suppressions, Home Districts, Party, and Voting History sections.
4. For ease of use, you can mark these four sections to appear at the top of the screen each time. Click on the star next to each and it will turn gold.
The screen will re-display and those sections will be at the top.
5. Set the criteria for each of the 4 sections.
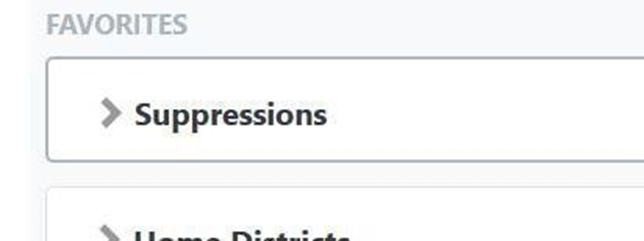
6. Set the Suppressions criteria.
7. Open the Suppressions section.
8. Click on Remove All Suppressions. The screen will re-display and you will see that all boxes have been checked, and that Deceased are now included.
9. To exclude Deceased click on the double arrow next to that field and select Exclude Deceased. The screen will re-display and you will see that all boxes have been checked, and that Deceased is now excluded.
10. Close the Suppression section by clicking once again on the arrow in the upper left-hand corner.
11. Set the Home Districts criteria.
- Open the Home Districts section.
- In the County field, click on the double arrows to the right.
- Select Hillsborough. The screen will re-display and the Precinct field will now be visible.
- Type or select the Precinct number for which you want to create a list.
- Close the Home Districts section.

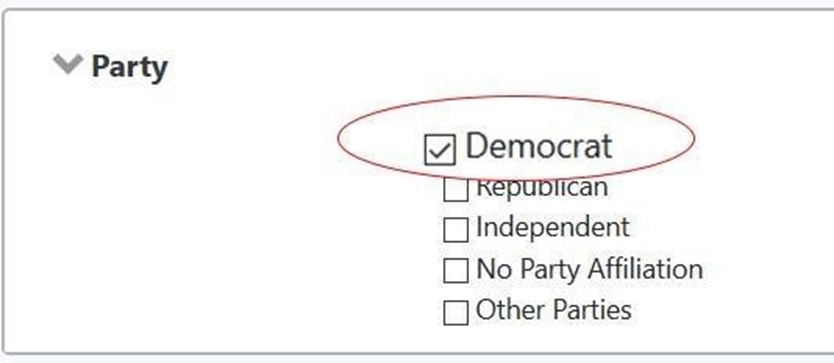
12. Set the Party criteria.
- Open the Party section.
- Select Democrat from the options.
- Close the Party section.
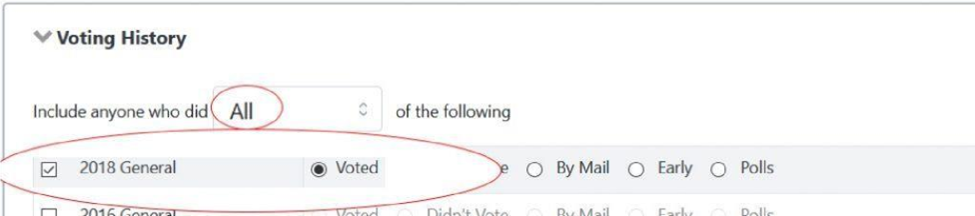
13. Set the Voting History criteria
- Open the Voting History section.
Where you see the dropdown “Include anyone who
did _____________ of the following”, display the options available by clicking on the down arrow.
- SelectAll from the drop down menu. The list of recent elections will now be available to you for marking.
- Check the box labeled 2018 General.
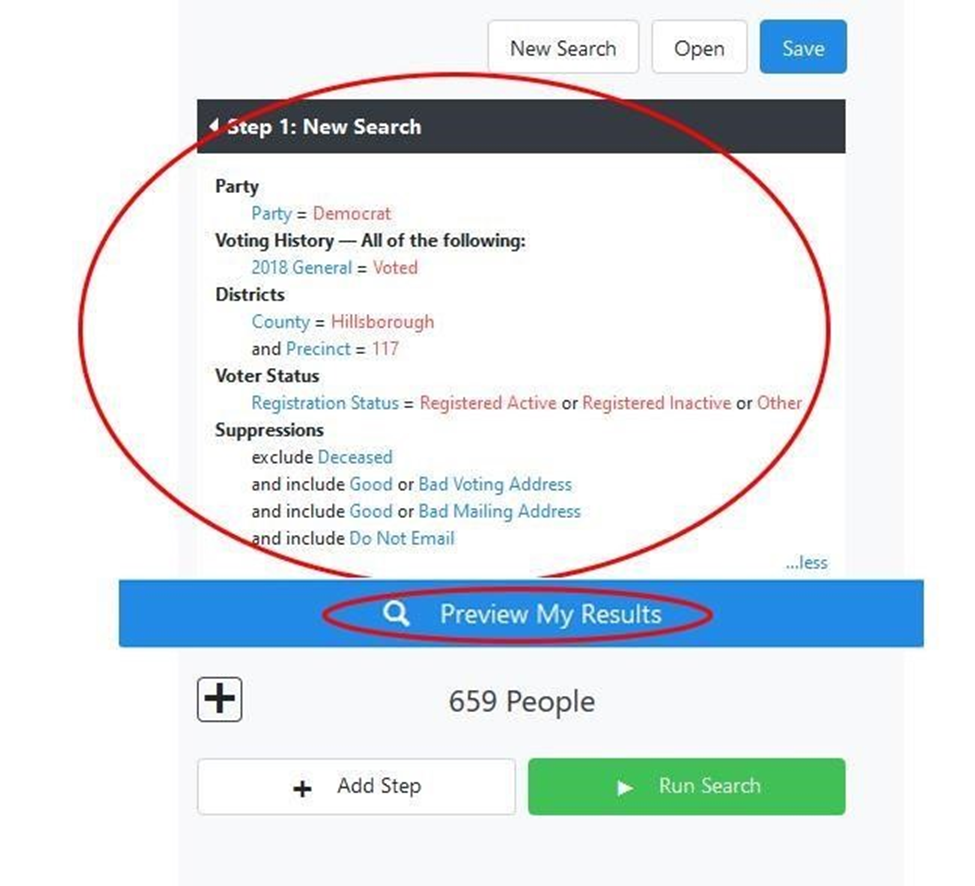
14. Select Preview My Results.
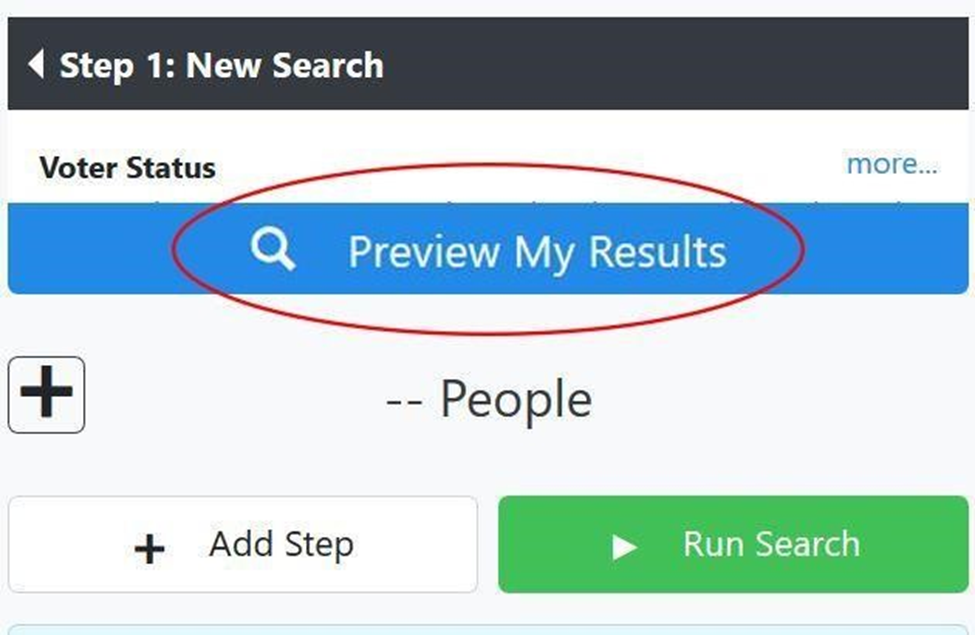
You will see the criteria you have selected and the number of people on the list you have created.
15. If you are satisfied and want to use the list as created, select Run Search.
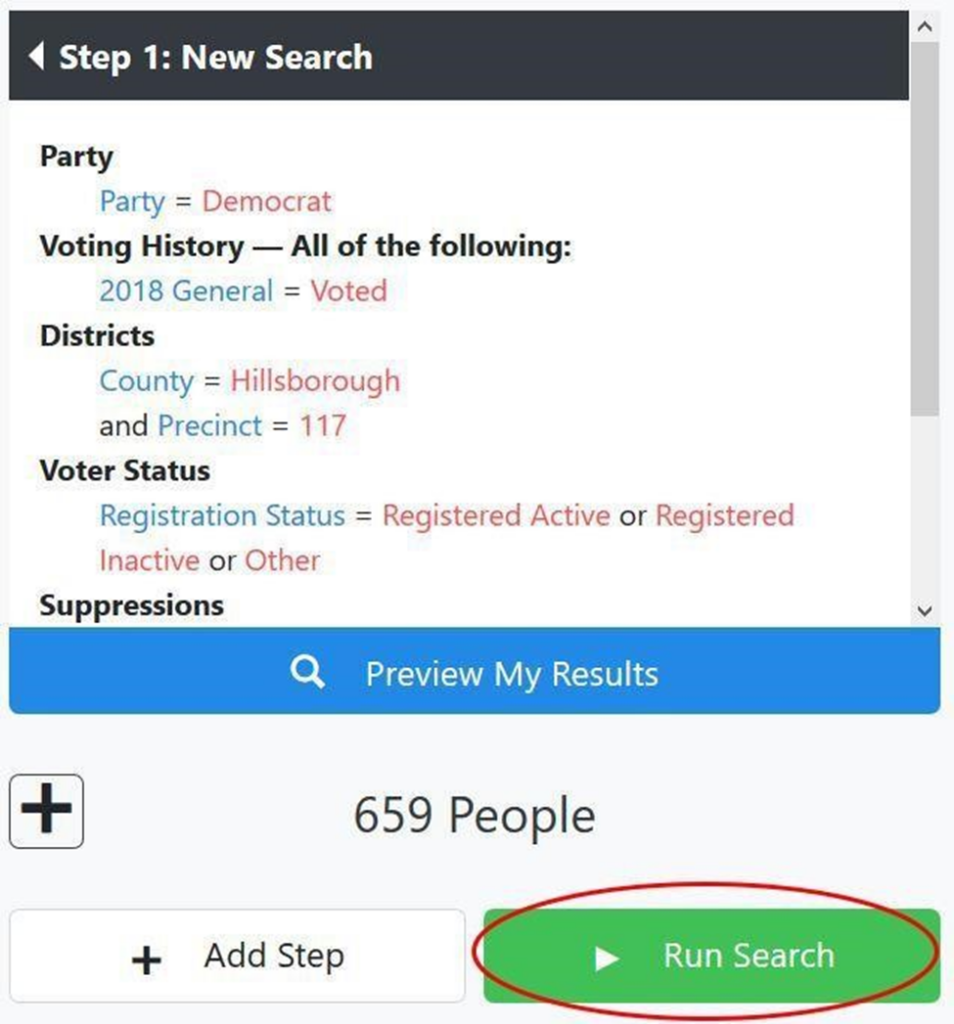
Your list will be displayed with an icon menu at the top of the screen.
There are several things to point out on this screen:
The top of the list shows a summary of the numbers of people and doors in your precinct.
In the upper right you will have options to edit, load, save, or create a new search.
This ribbon covers all the different actions you can take utilizing the list.
This is the summary of all the voters included in your list, you can select each name to find out more about each voter.
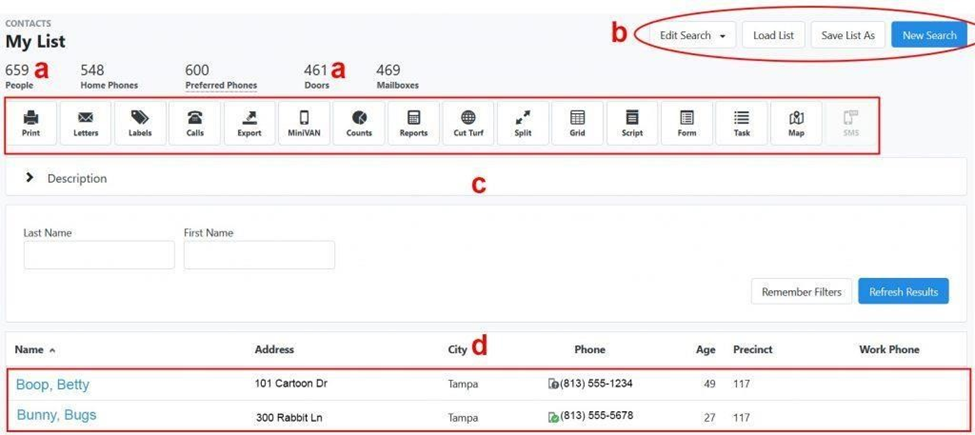
Before you work on your list any further, you should Save it.
8. Select Save List As in the upper right

Click on the arrow by the most used icons in the image below for a description of its action.
