1. From Folders or Turfs, select the saved list for which you want to create a phone bank.
2. From the icon menu at the top of the screen, select the Calls icon.
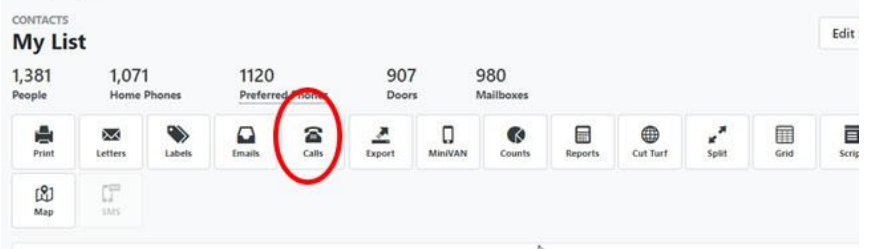
The following will be displayed.
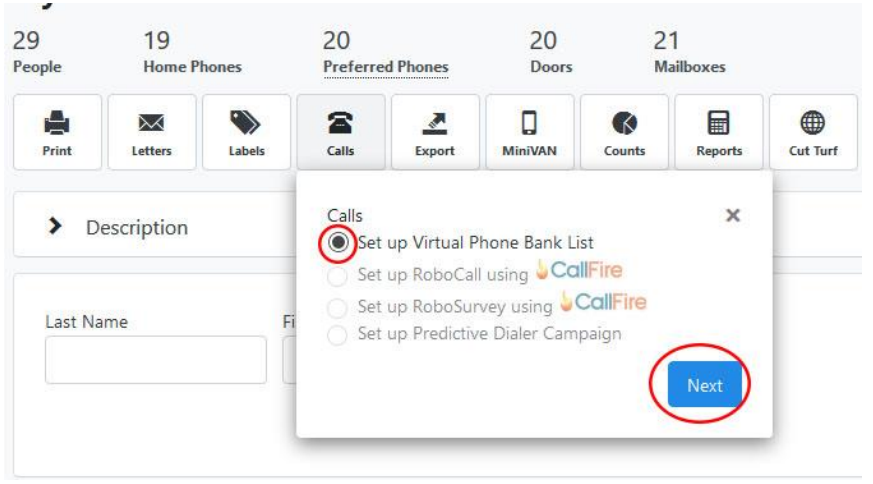
3. Select Set Up Virtual Phone Bank List.
4. Click on Next.
You will see the following.
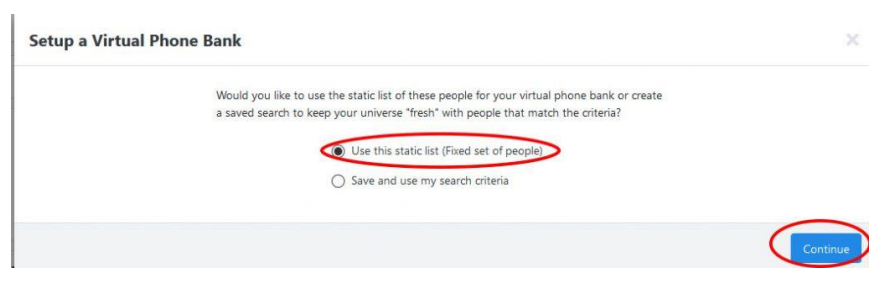
5. If you have not yet saved your search criteria, do so at this point. If you are creating this phone bank from a saved list, select Use This Static List. Click on Continue.
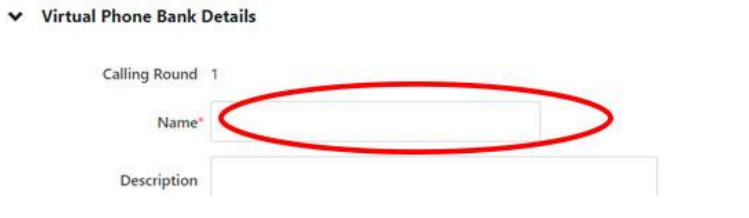
You see the main page for creating a Virtual Phone Bank.
6. Specify a Name for your script. This is the name of the phone bank that will display on lists and to users. To avoid confusion, I generally give the phone bank the same name as the saved list it is being used with.
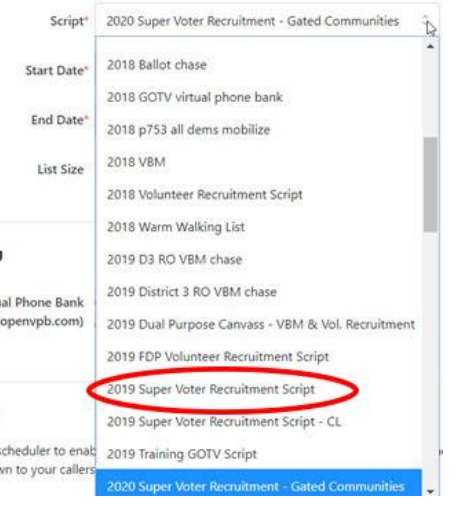
7. Select the script you want displayed in your phone bank from a list of previously created scripts.
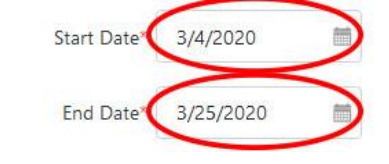
8. Specify the Start Date and End Date for the phone bank. These are the dates
between which the Virtual Phone Bank will be open and available to callers.
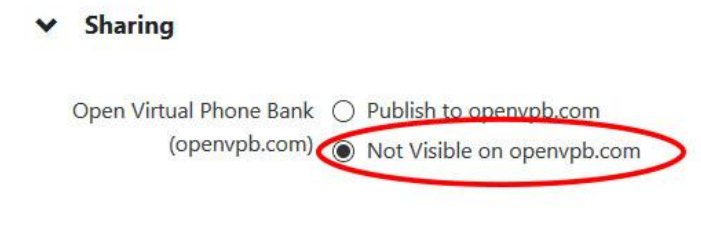
9. Specify whether the phone bank will be available to the general public or only
to those with VoteBuilder accounts. Select ‘Not Visible on openvpb.com‘.
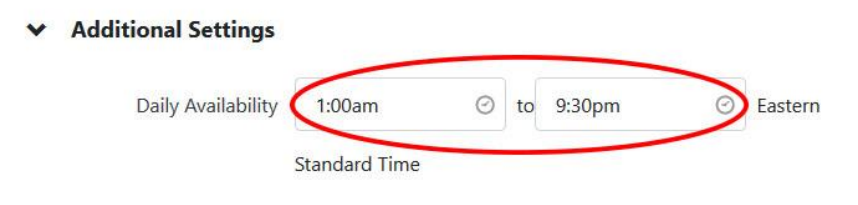
In the Additional Setting section of the screen, you will want to specify Daily
Availability. This limits access to the phone bank to the times specified.
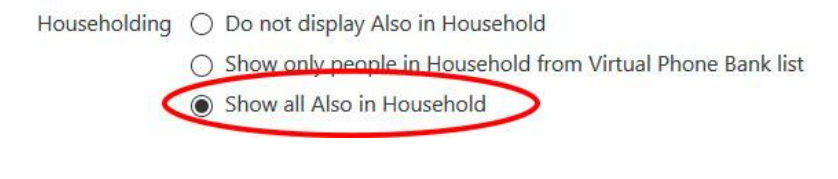
You should also indicate whether the phone bank will display the names of
other members of a voter’s household in the list. This is useful in the event
someone else in the home answers the call.
10. You should also Allow callers to skip contacts and households. This allows
callers to skip contacts without indicating whether there was contact or not. (e.g. A
caller may recognize someone on the list and be uncomfortable calling that
person.)

11. Along the right side of the screen, you will see a column of options that control
the information displayed on screen for a caller. The more information you
include, the easier it is for the caller to make a meaningful connection with the
voter, but it also crowds the screen. You will have to balance the two.
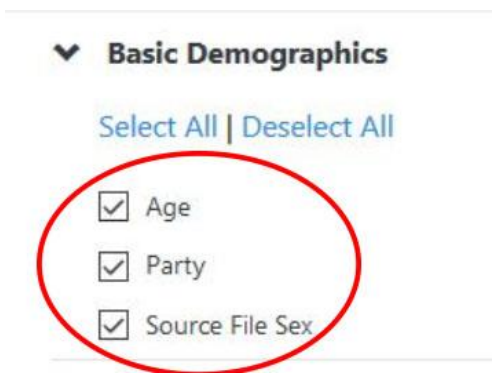
Generally speaking, you want the caller to see basic demographic information
about the voter.
There are three sections in this column relating to voter contact information.
- The first section displays read-only information. This data cannot be edited by the user.
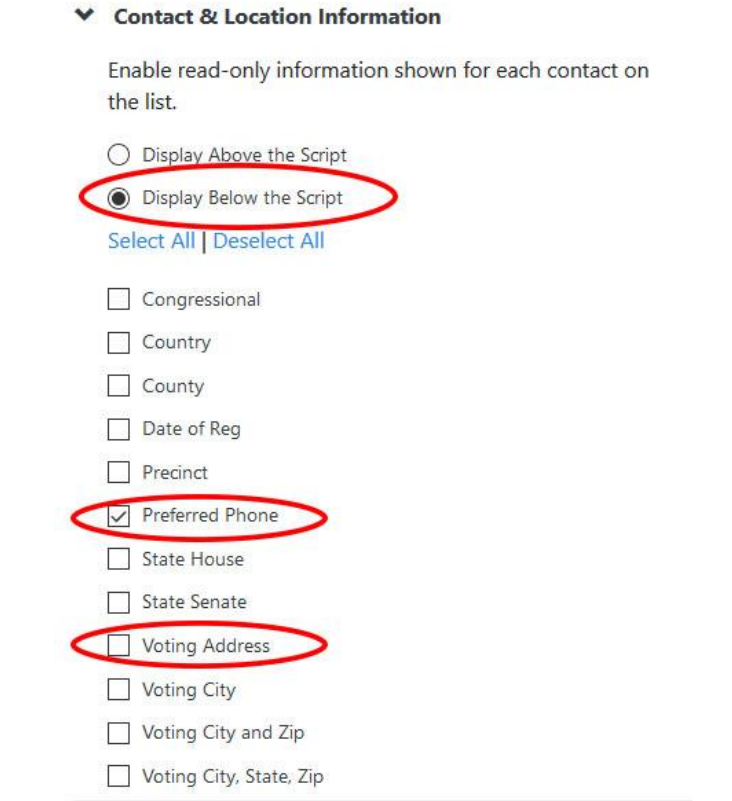
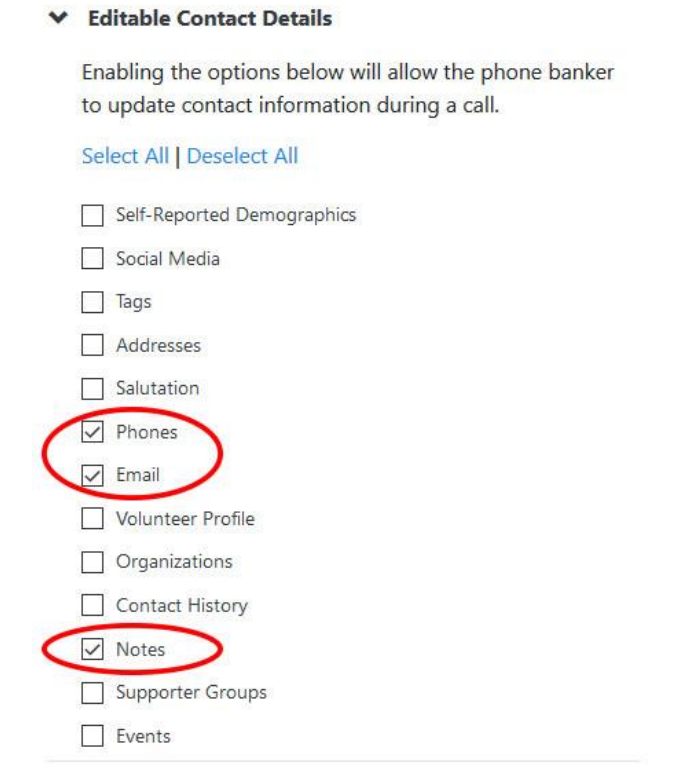
- The second section of contact information allows you to indicate what voter information can be updated by the caller.
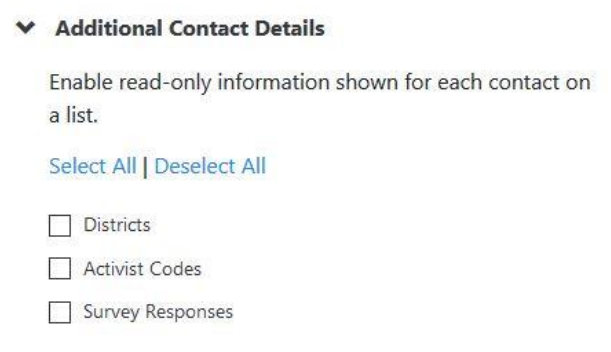
- The final section of contact information is another read only section. I generally do not include any of these items on the screen, but you may by checking the appropriate boxes. (Note: Districts refers to the Congressional, FL Legislature, Commission, and School Board Districts for the voter.)
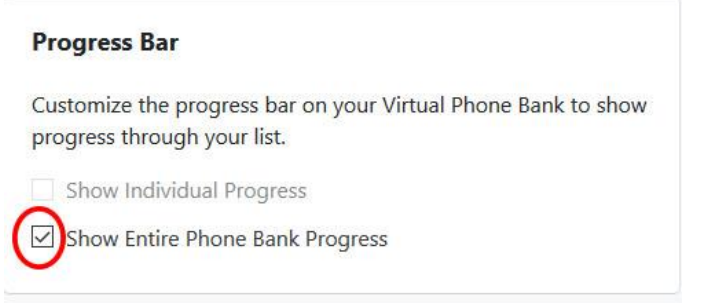
12. The final item is the Progress Bar. You do not have to include a progress bar,
but it may be encouraging for the caller to see the progress they are making.
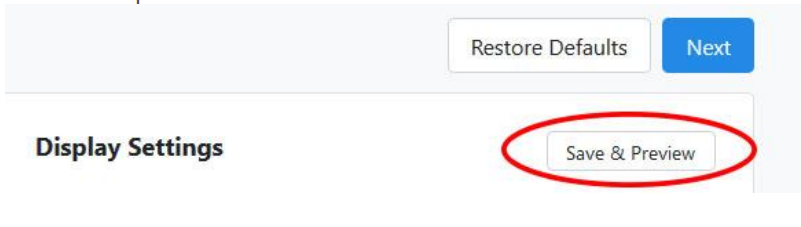
13. Once you have made all of your Display Setting choices, scroll back to the top
of the screen. You will see the option to Save and Preview. Click on that option
to see a sample of what the caller will see.
14. When you are satisfied with all of the options, select Next.
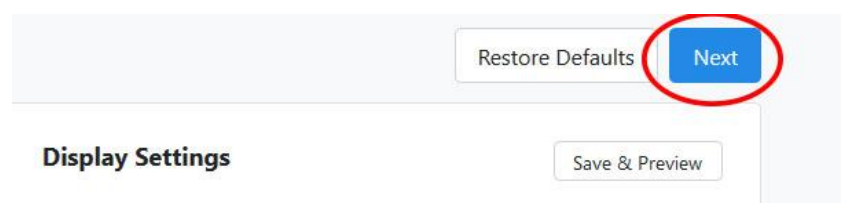
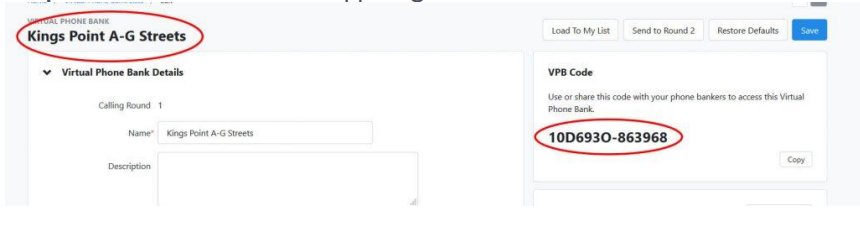
The screen will be re-displayed with the Phone Bank Name in the upper left and the phone bank number in the upper right corner.