1. Create a New List.
2. Open Canvass Status.
3. First you must select the basis on which you want the system to limit the list: You will see the following options:
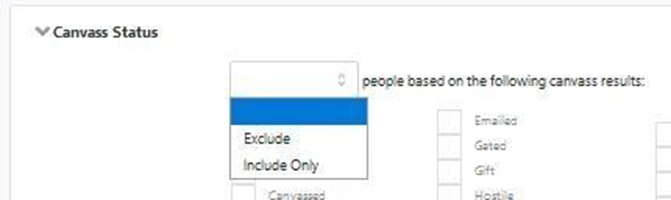
4. If you select Exclude, several canvass statuses will be checked in the upper portion of the box. They are the standard exclusions, but you may check or uncheck as many boxes as you choose.
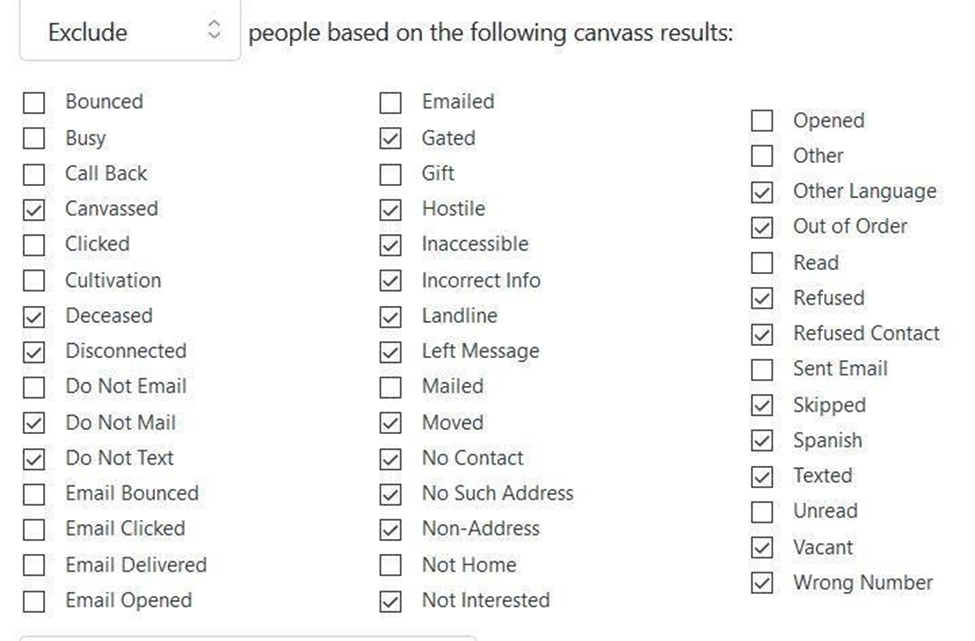
5. If you choose Include Only, no canvass statuses will be checked. You check only the one(s) you want to include (e.g. only those who were marked Not Home).
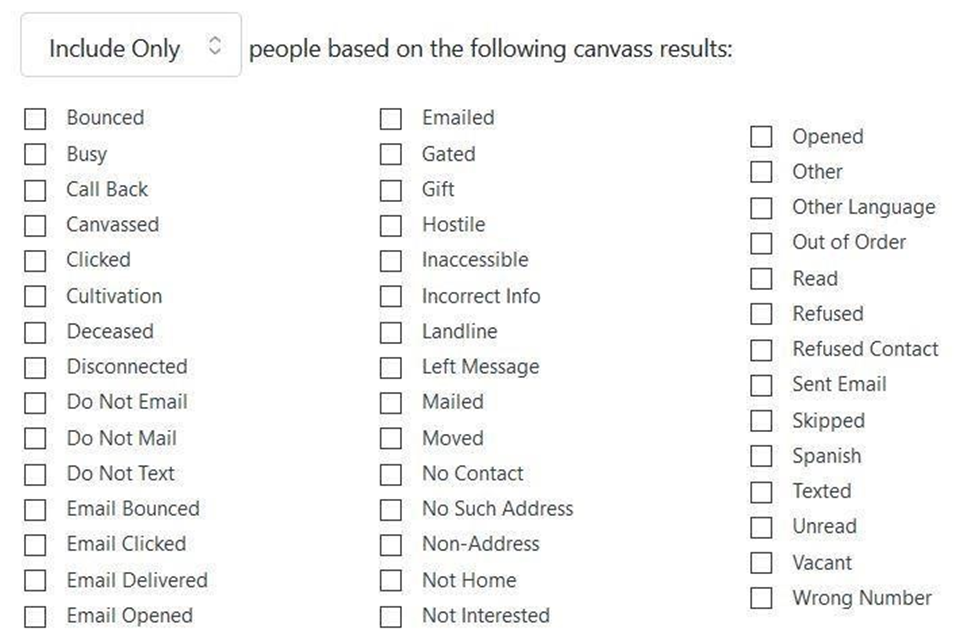
6. There are many ways to limit the list using this function, but the other common method would be by Date Canvassed. Scroll down until you see the Date Canvassed field.
7. Open the Select a Date Range Type. You will see the following options:
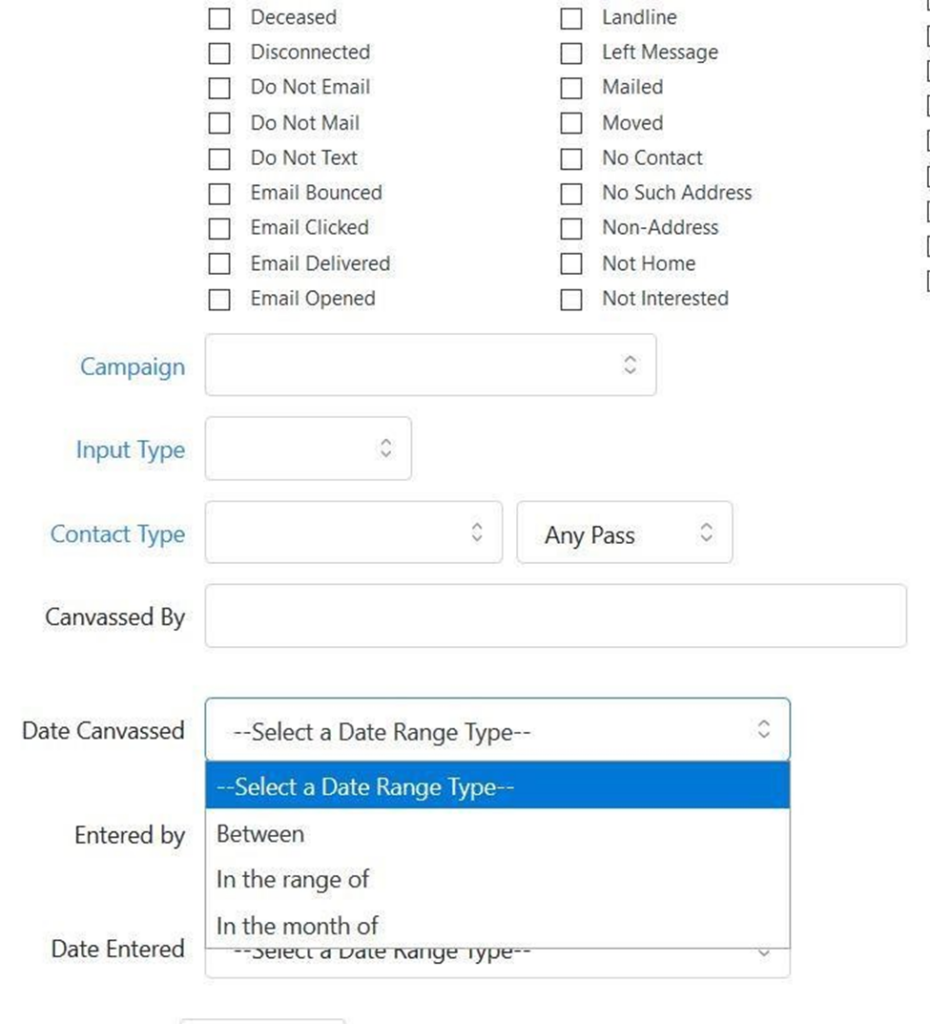
Between allows you to specify specific start and end dates. For example, to see all the voters canvassed on a specific weekend, you might enter 1/10/2020 – 1/12/2020.
In the range of is a less specific criteria. You would use this option when you are not sure of the precise dates for which you want to see a list.
In the month of allows you to specify a specific month and year.
8. Once you have selected your canvass status information, try Preview Results to verify that the numbers look right.
9. Modify as necessary.
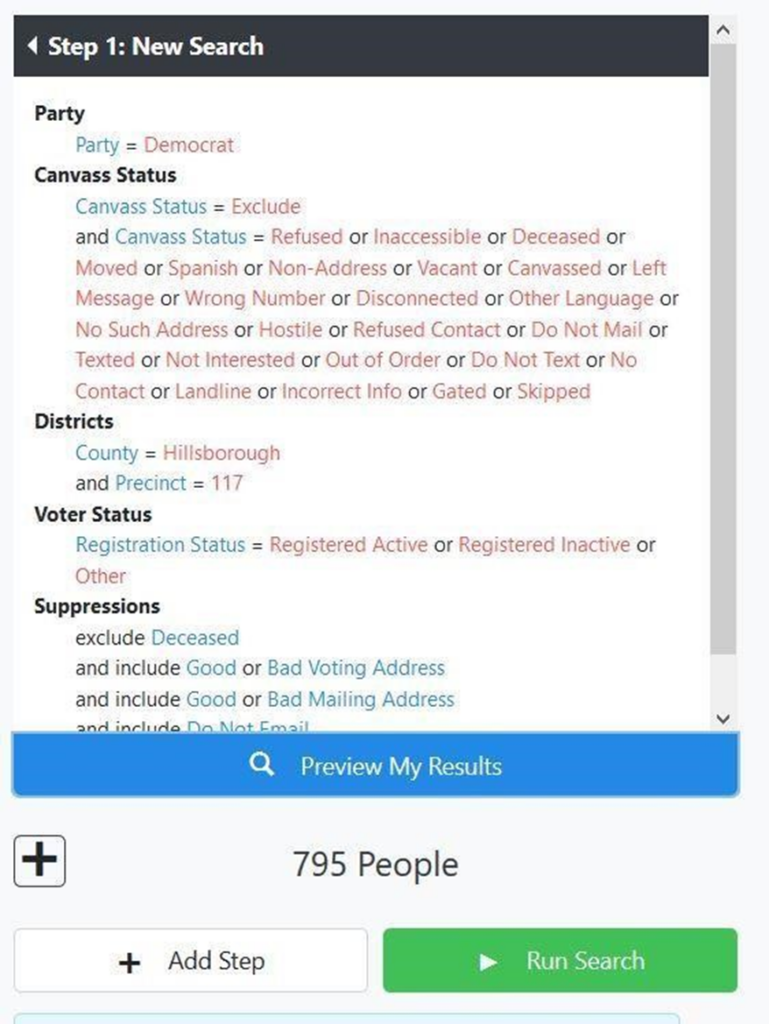
3. When you are satisfied with your selections, Run Search.